Moulton Rear Fork Replacement
You may well have found the rear forks on your classic Moulton difficult to remove. Perhaps they even required a hacksaw and a big hammer. If so, you might be dreading putting them back on again, probably because of the compression required to align the holes in the fork with the pivot tube of the frame. Don't worry; with the right tools and a bit of patience the job can be done in a lazy afternoon.
Allow a couple of hours and you should not have any problems, even doing it alone. The ideal is to have a workshop bench and a good metalworking vice, but this is not absolutely necessary. Please read through the following procedure before starting the job so that you have the proper tools and greases to hand and an idea of what to expect.
This pair of forks has had a crack repaired and some weld strengthening. The technique is shown at the bottom of this page.
If you are viewing the page on a smartphone, use landscape view. All of the photos are clickable to get larger versions.
| Start with the fork, freshly powder coated and the suspension block, painted with Hammerite Beat Rust or Zinc 182. Note that the suspension block will be matched to the fork inasmuch as the rivet holes are hand drilled with the fork. If you use a rubber block from a different pair of forks, it can be difficult to get the holes to align. If you are restoring more than one Moulton at a time, keep the blocks with their matched forks. |  |
| A close up of the block showing the part of the plate that has to be bent apart in order to remove the block from the fork. The rubber can be effectively cleaned with a cloth wetted by cellulose thinners. | 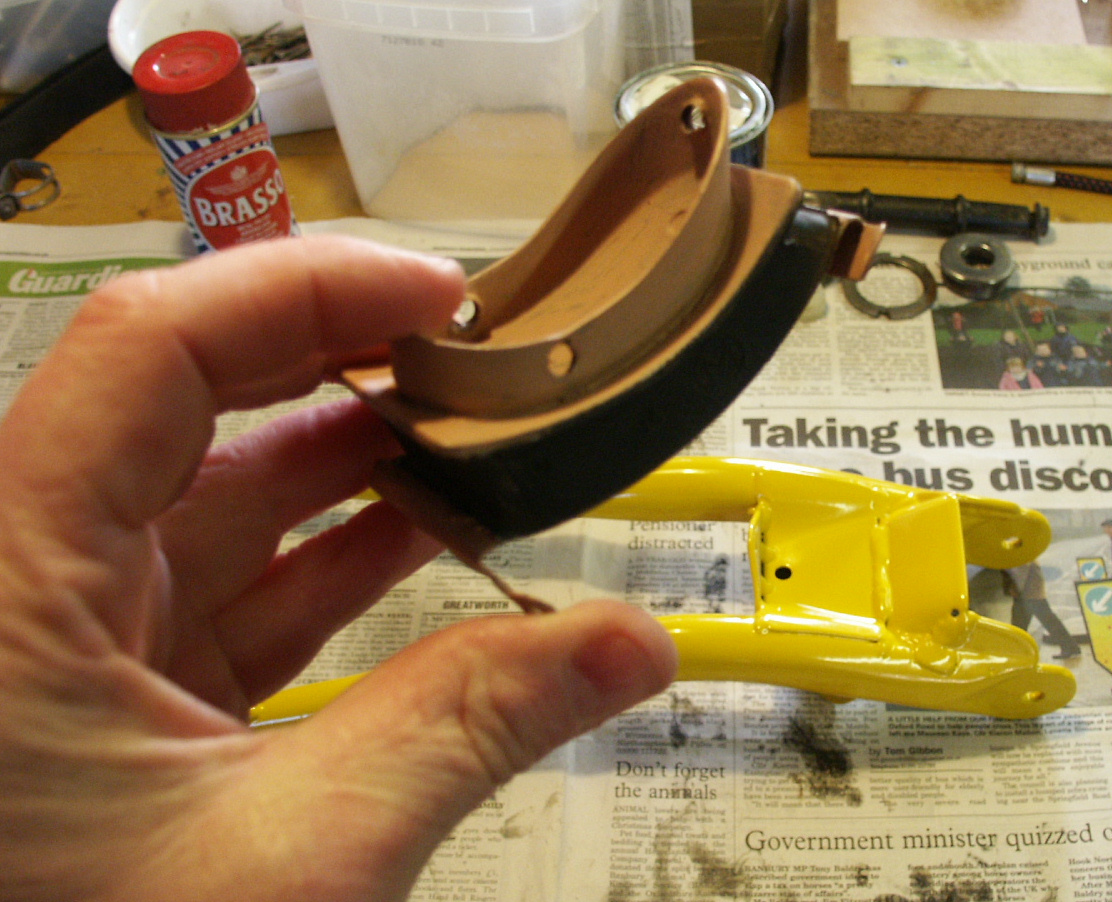 |
| Close up of the welded strengthening on the forks. A plate is added to join the crescent cup to the front of the fork blade. It is possible to do the welding on the inside and out side, then only grind the outside flush. However, as this area of the forks is not conspicuous I left it as it came out. Mig welding is a quick and cheap way to repair these type of forks. The closing plate with a brake hole, between the crescent cup and the mudguard mounting, has some extra welding to give the forks more torsional stiffness. |  |
| These are the correct rivets to attach the rubber block to the forks. Clean the four holes in the fork with a 1/8 or 3mm drill, to remove any paint that has collected there. | 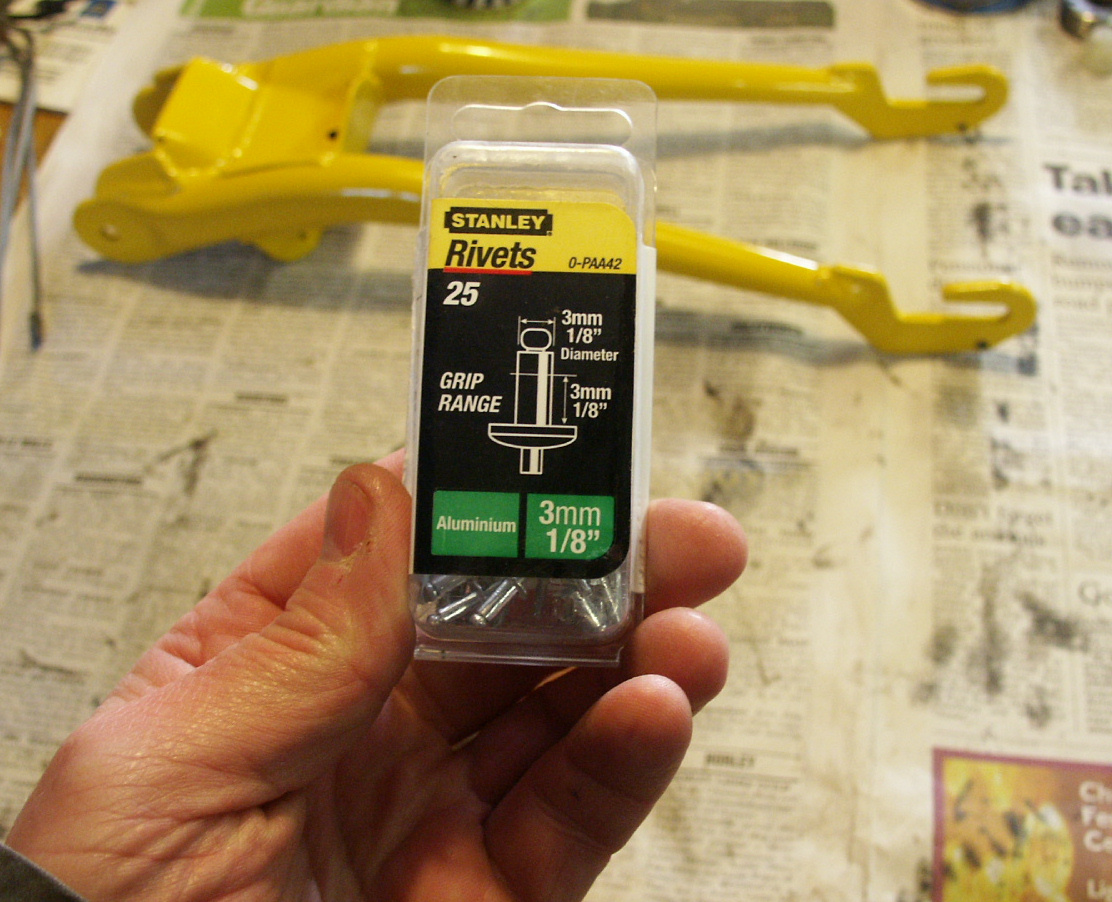 |
| Put the block in place, tap the tangs in and push two rivets through the holes. Then squeeze the rivet gun a couple of times until the rod snaps off… | 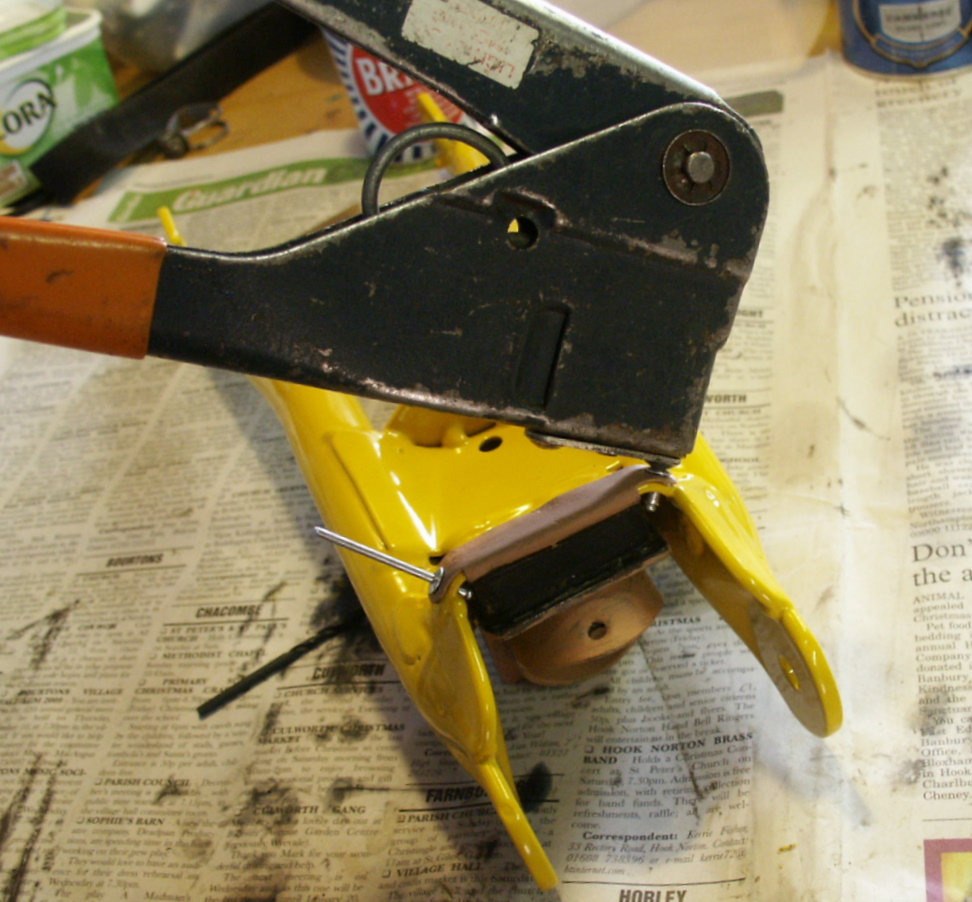 |
| … repeat on the second rivet. | 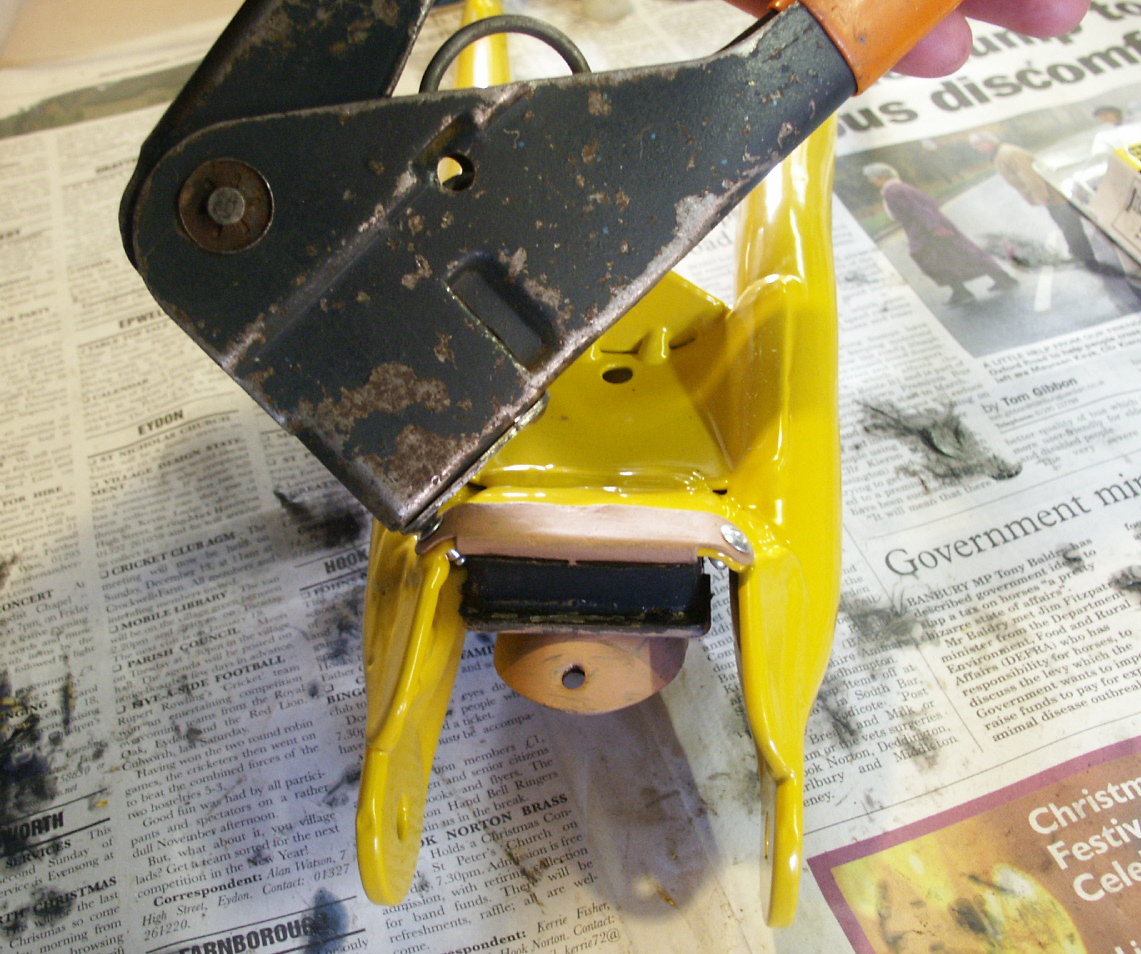 |
| So far- so good. | 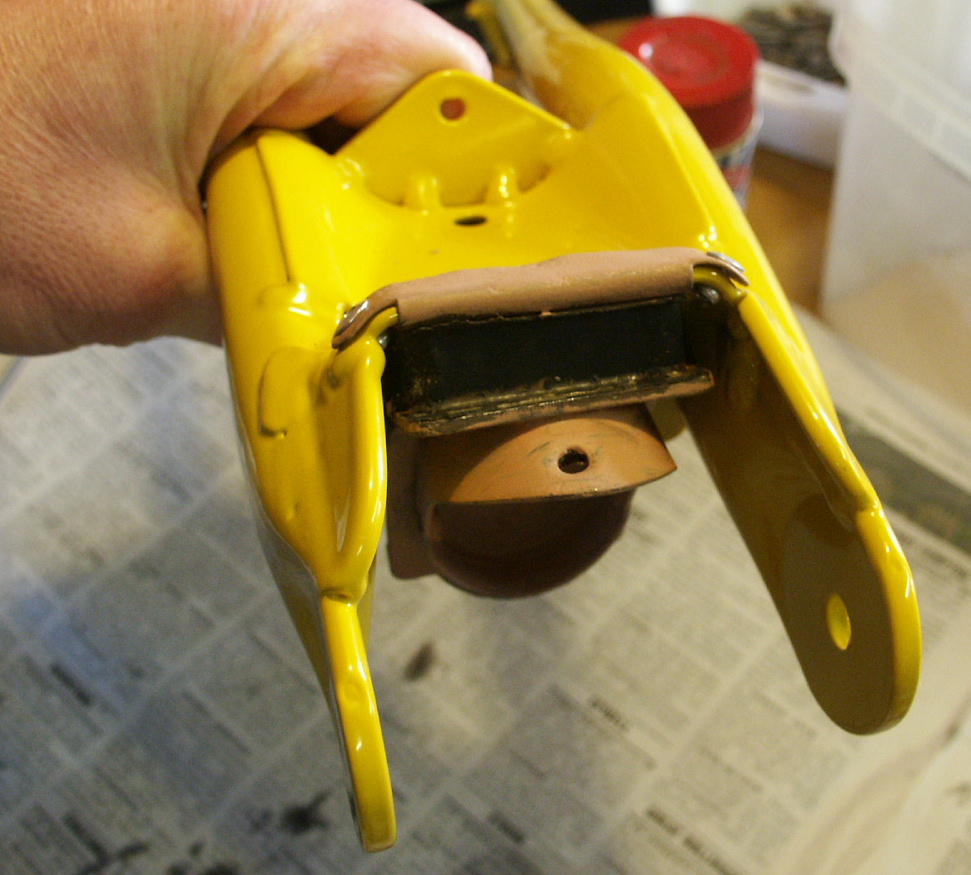 |
| The top fastening is a repeat of the first. However, the metal plate of the block must be carefully bent back into place and the tangs tapped down. In practice this is not that easy. A combination of squeezing and tapping with a plastic mallet whilst using a small screwdriver to bring the holes into alignment works as well as anything. If you have a small G cramp this may help to squeeze the plate in. | 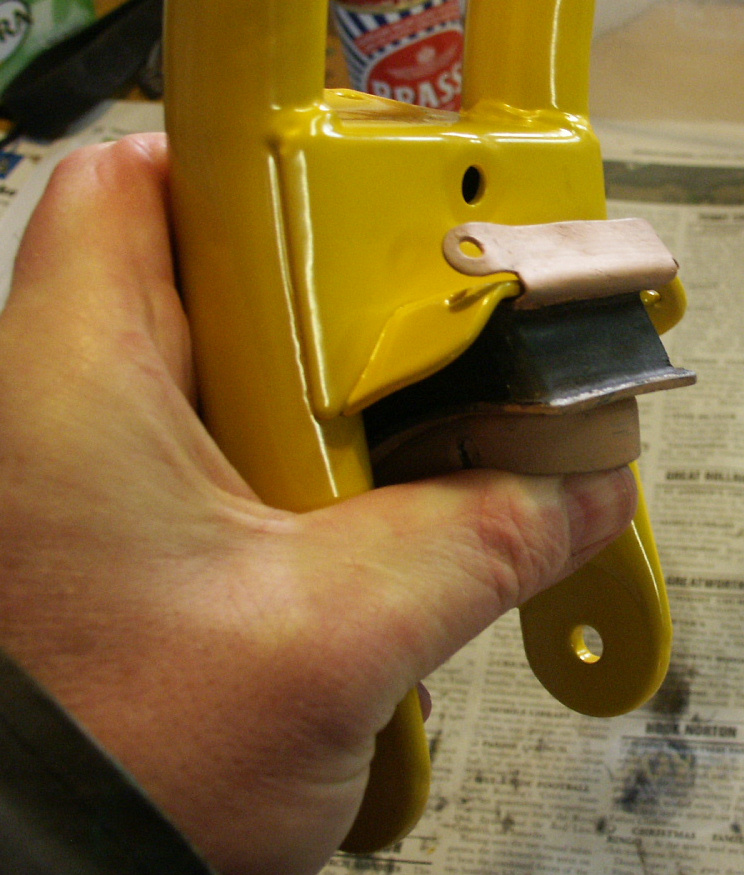 |
| Now the upper ‘ears’ can be riveted in the same way as before. Take care to avoid hitting the forks with the rivet gun when it snaps the pull-rod off the rivet. | 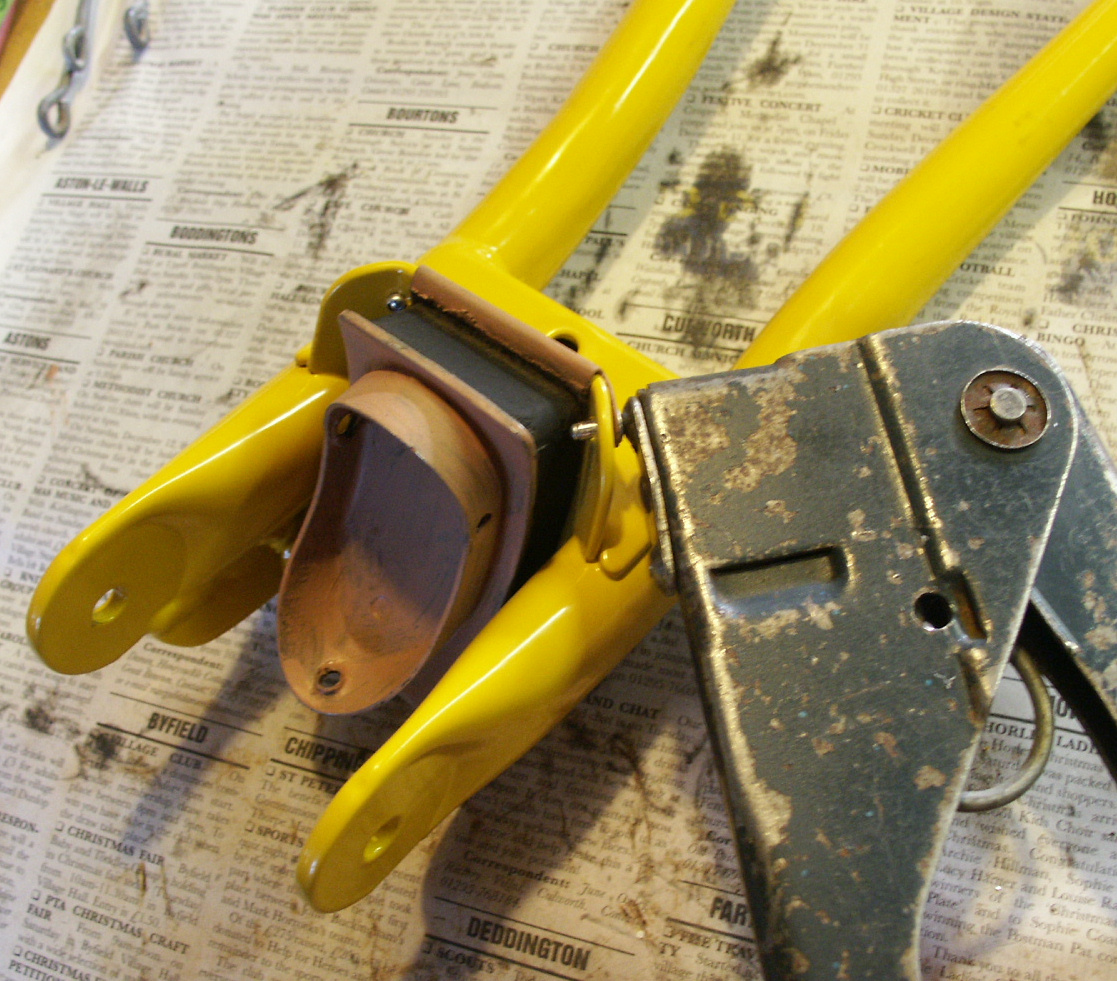 |
| Here is the frame that the rear forks will be fitted to, in this case a Stowaway model. Note that if possible you should try to keep the forks with the frame that they belong to. Moultons were very hand-built bicycles and hundreds of thousands were made at three different factories over several years. It is too much to expect that a part from one bike will be a good fit on another. You can swap rear forks from bike to bike, but a donor set of forks can be very difficult to fit in some cases. | 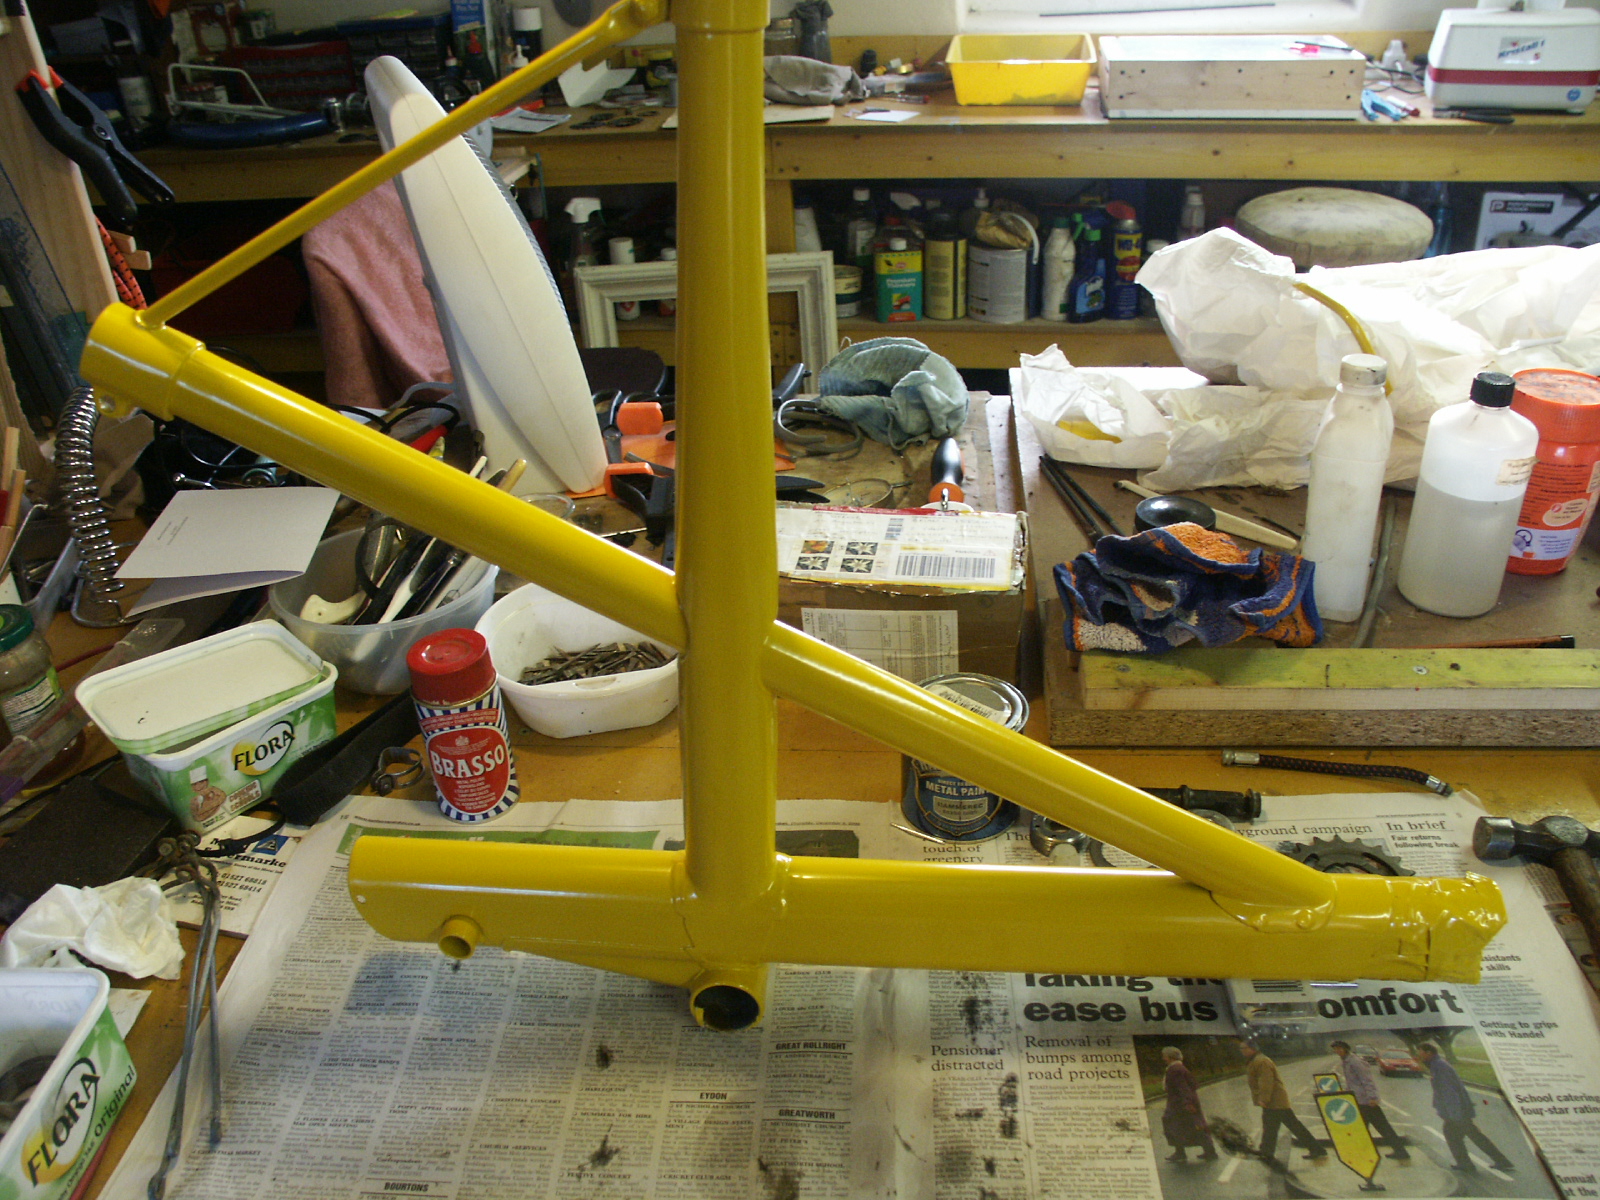 |
| Press the Nylon bushes into place using a vice. The collars in particular are very easily broken and pressing is far preferable to hammering in. Nylon bushes can be obtained from Moulton Preservation, as can new pivot sleeves and bolts. Alternatively you may use the assembly from a scrapped Moulton Mini, if you have one. |
 |
| The second Nylon bush goes in. The central hole in the bush may be squeezed a little smaller by the extra thickness of modern powder-coat paint. This is a problem as it causes the pivot sleeve that rotates inside the bush to jam. The sleeve is 7/16” diameter, i.e 11.1125mm. A 7/16” drill has been used to help enlarge the bush holes very slightly, but in practice it was not very effective. The drill goes through fine, but the hole becomes no bigger. A slightly larger drill (say 11.25mm), gripped in a mole wrench, may help you if the holes are too small in your bushes. | 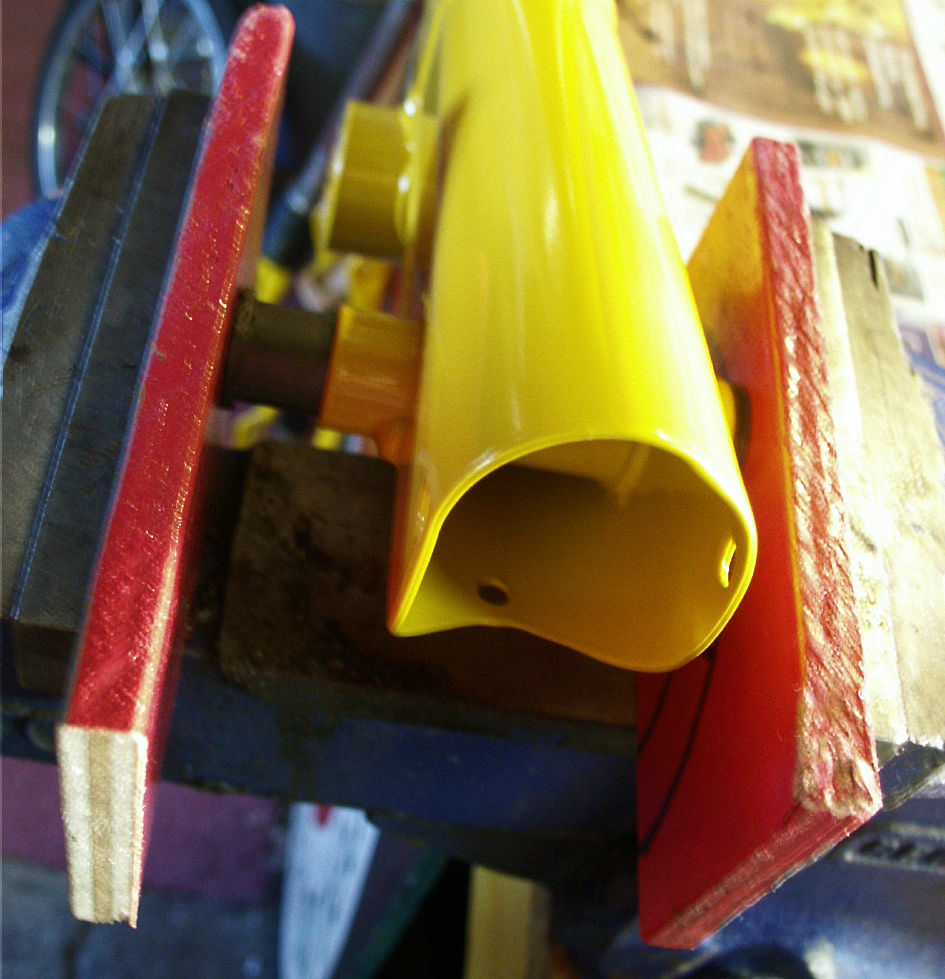 |
| Seeing as I had the rivet gun out and also needed to use the front of the bike to fit the rear forks (as will be shown), I took the opportunity to attach the badge. | 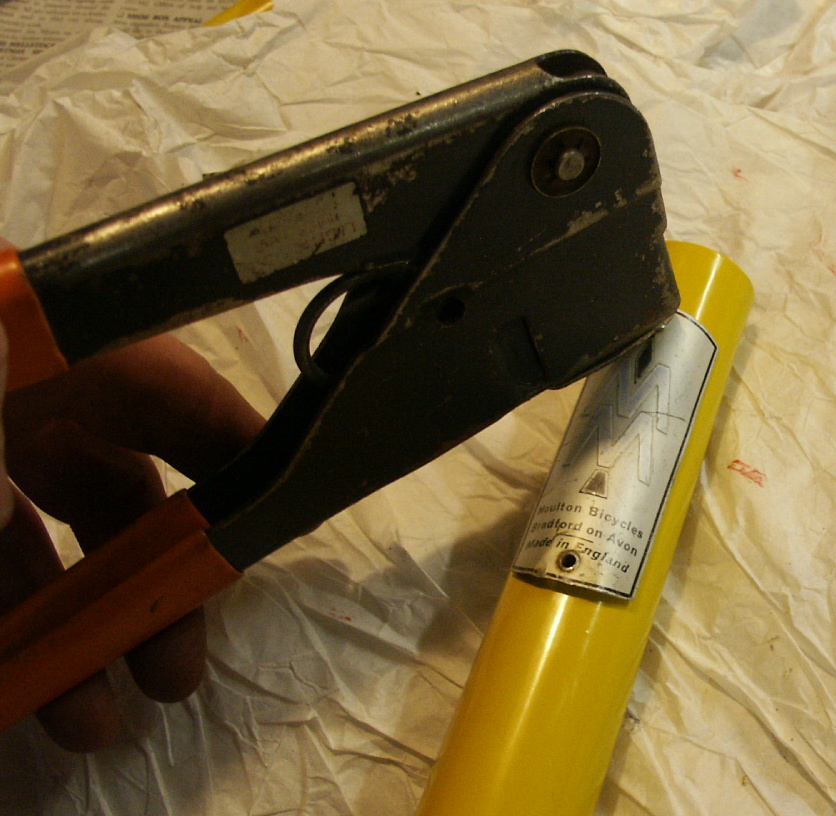 |
| Very short rivets are needed, or else the steerer tube fouls on them. | 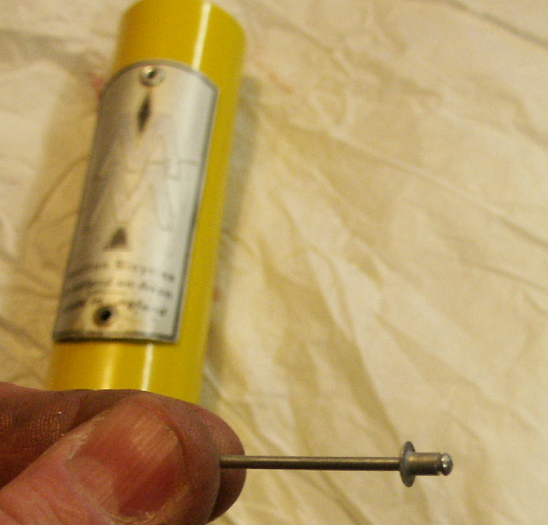 |
| I also knocked the headset cups in with a plastic mallet. Note that the backplate of the rubber block has now been painted with silver Hammerite, before attaching the forks to the frame. |  |
| Put plenty of Molyslip or CV (constant velocity) grease into both sides of the bushes to lubricate the pivot sleeve. |  |
| Now grease the pivot tube, which should be smooth and shiny, and push it into the nylon bearing. If your sleeve is a sliding fit you can push it in with a thumb. | 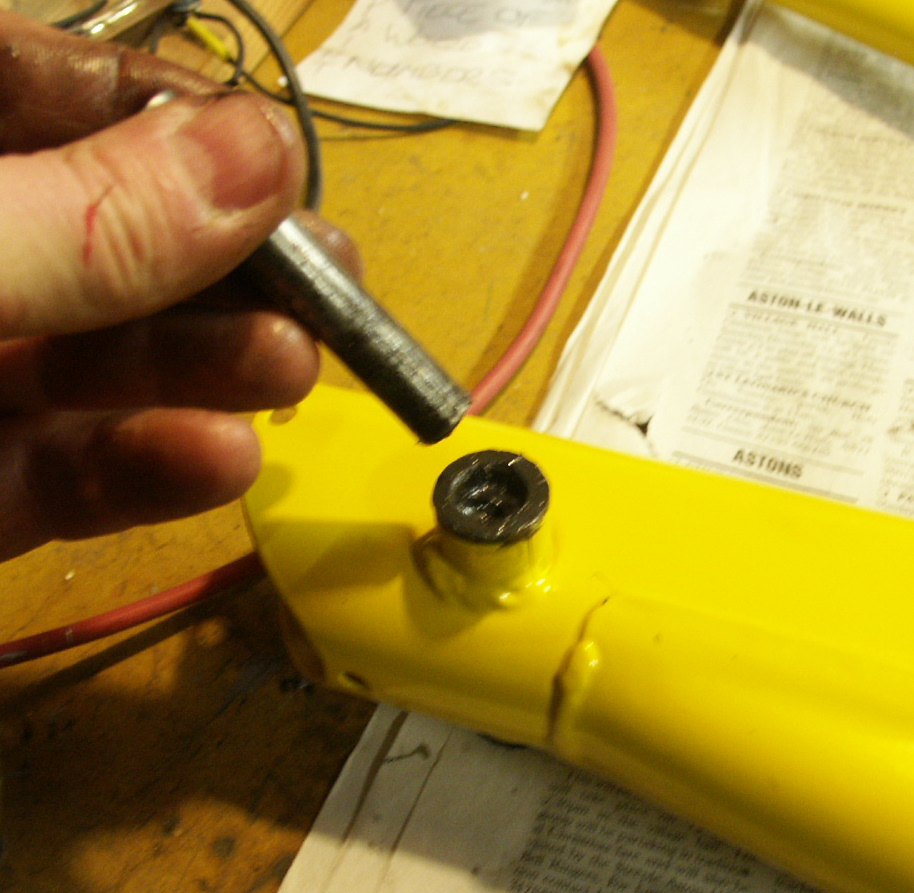 |
| If it is stiff, work the pivot sleeve into the bush with a rotating motion. The sleeve and bolt must turn with the rear fork, not the bolt inside the sleeve or the bushes in the frame. Note the Mole grips shown are not squeezing hard enough to make a mark, although it might have been better to protect the sleeve from the jaws with cloth. | 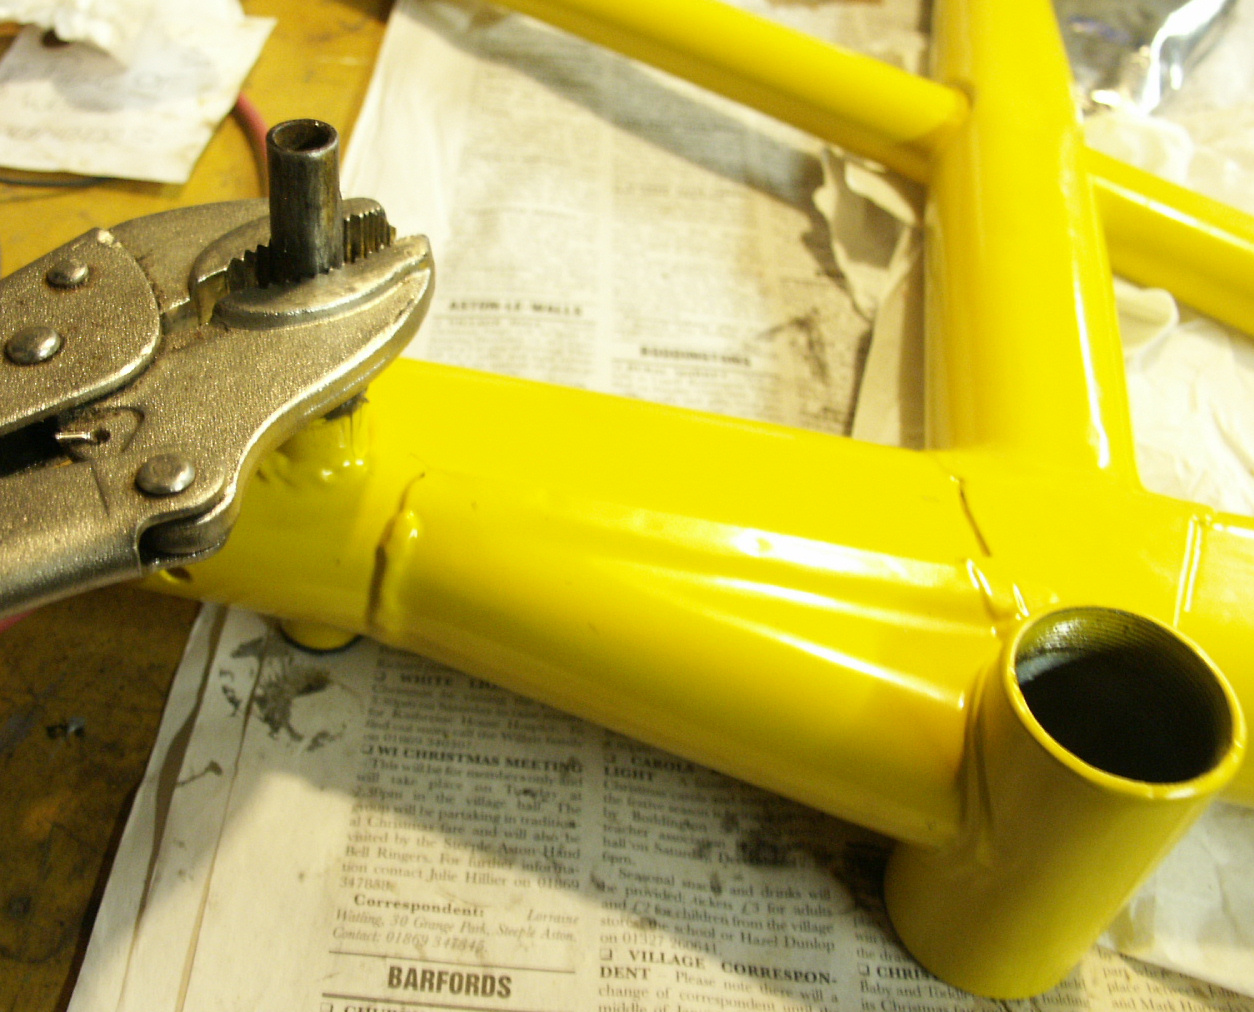 |
| Here is the important bit, especially if you are working alone. Buy from a car shop a ratchet tie-down strap for luggage that has a tightening drum like the one shown. Protect the frame with rags and loop the strap around the front of the head tube at the base, and between the fork blades. | 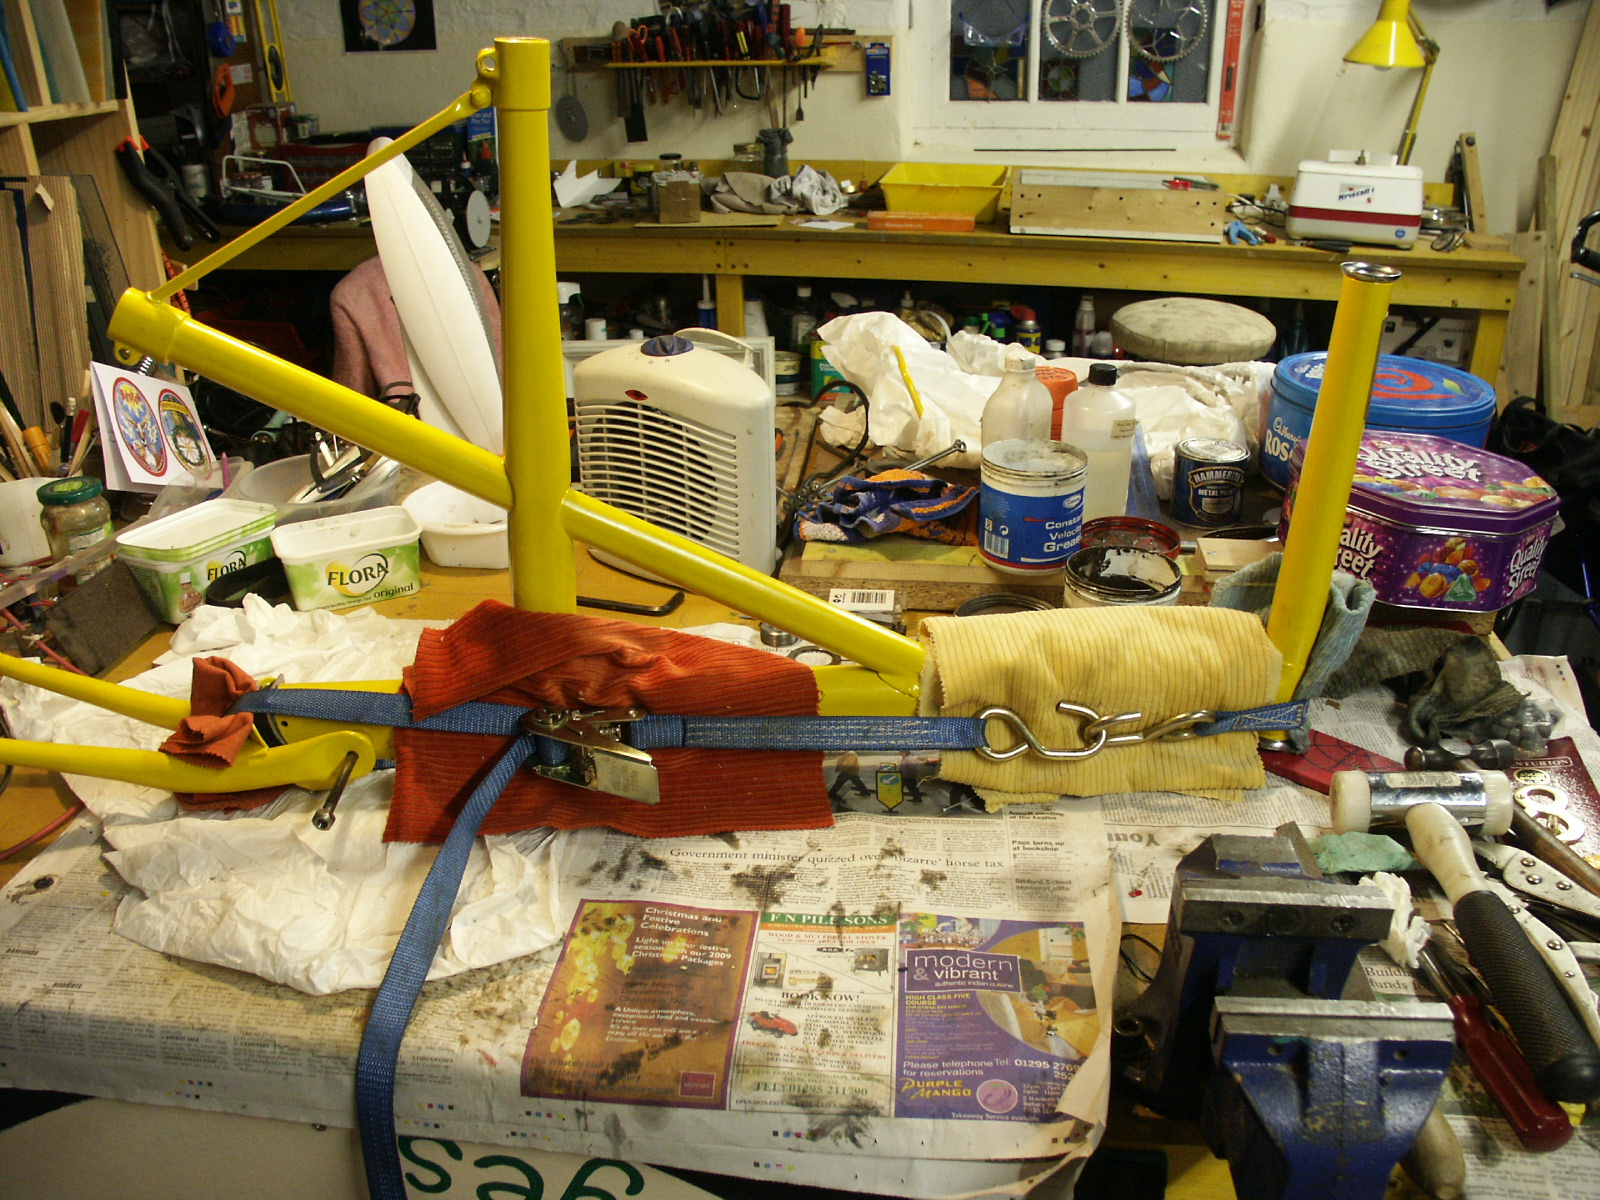 |
| Now simply ratchet up the tension in the strap until the holes in the fork align with the holes in the pivot tube. Use a screwdriver as a lever in the holes to get the first side right. | 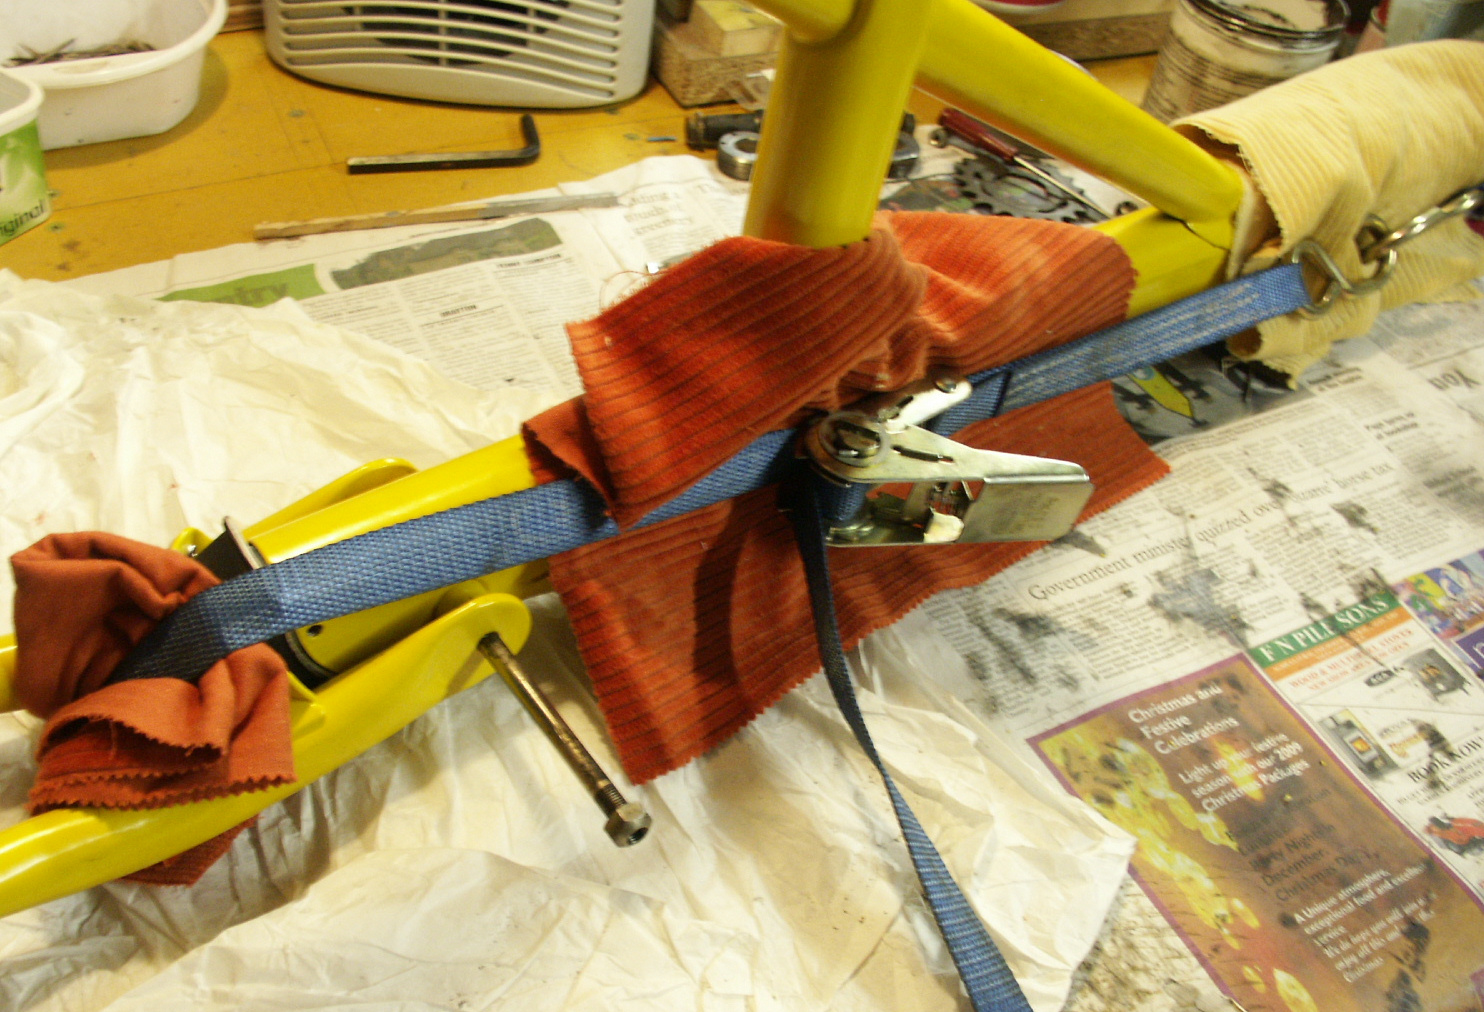 |
| Showing the location of the webbing strap at the front. Do not put it any higher up the head tube. | 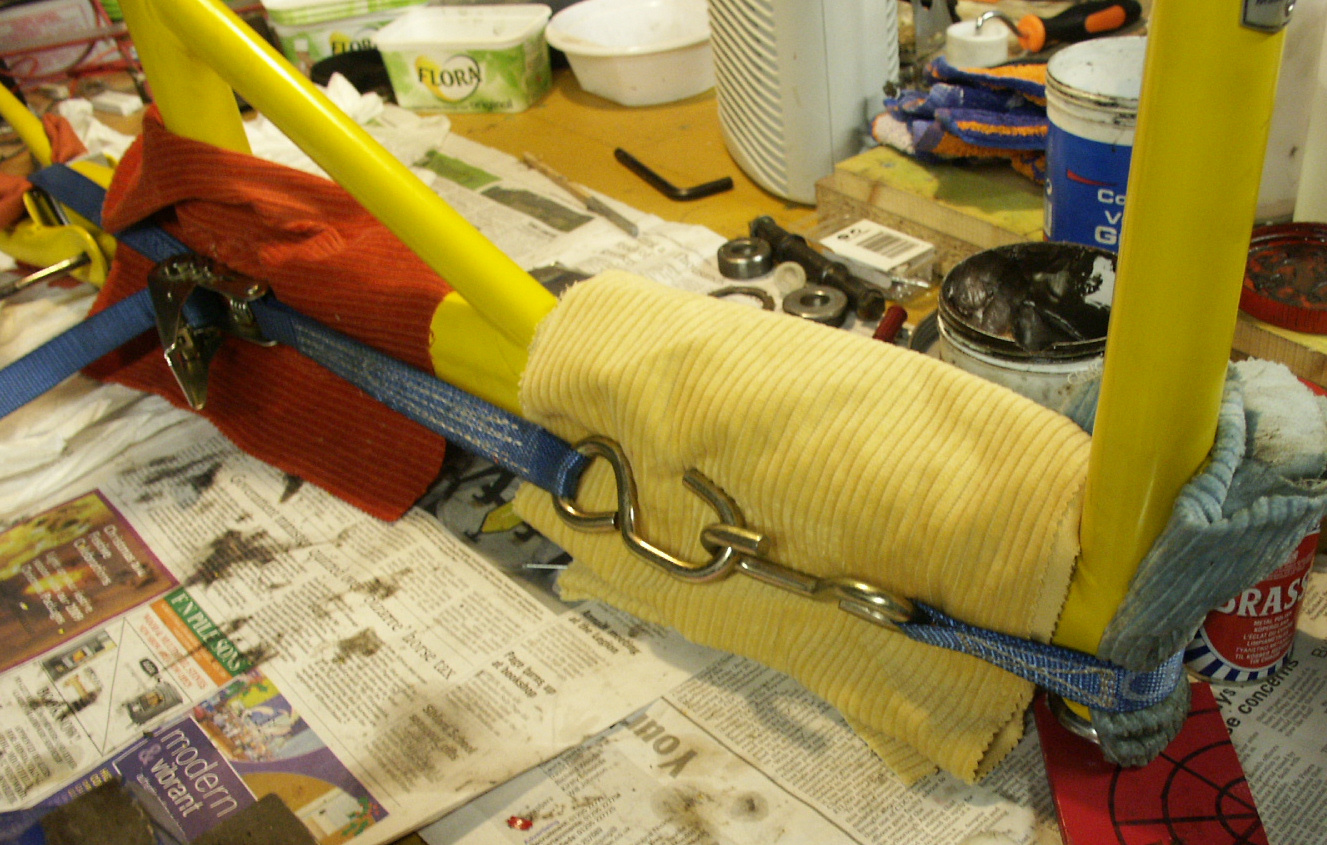 |
| Use copper grease as shown on the bolt, which will prevent it from seizing in the pivot tube in years to come. | 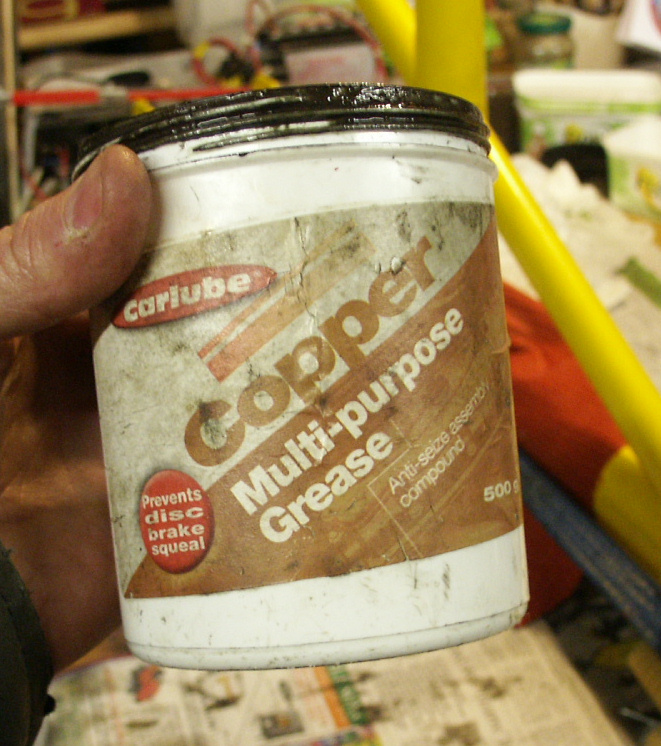 |
| Push the bolt in and tap it ¾ of the way through. Next concentrate on the other side, applying more tension if necessary to align the holes. Tap the bolt all the way through with a plastic mallet until it is exactly in the centre of the sleeve. It usually is quite easy, even if the forks are a very tight fit, but do be careful not to let the frame fall over. Hold the tops of the vertical tubes when hammering or ratcheting. |  |
|
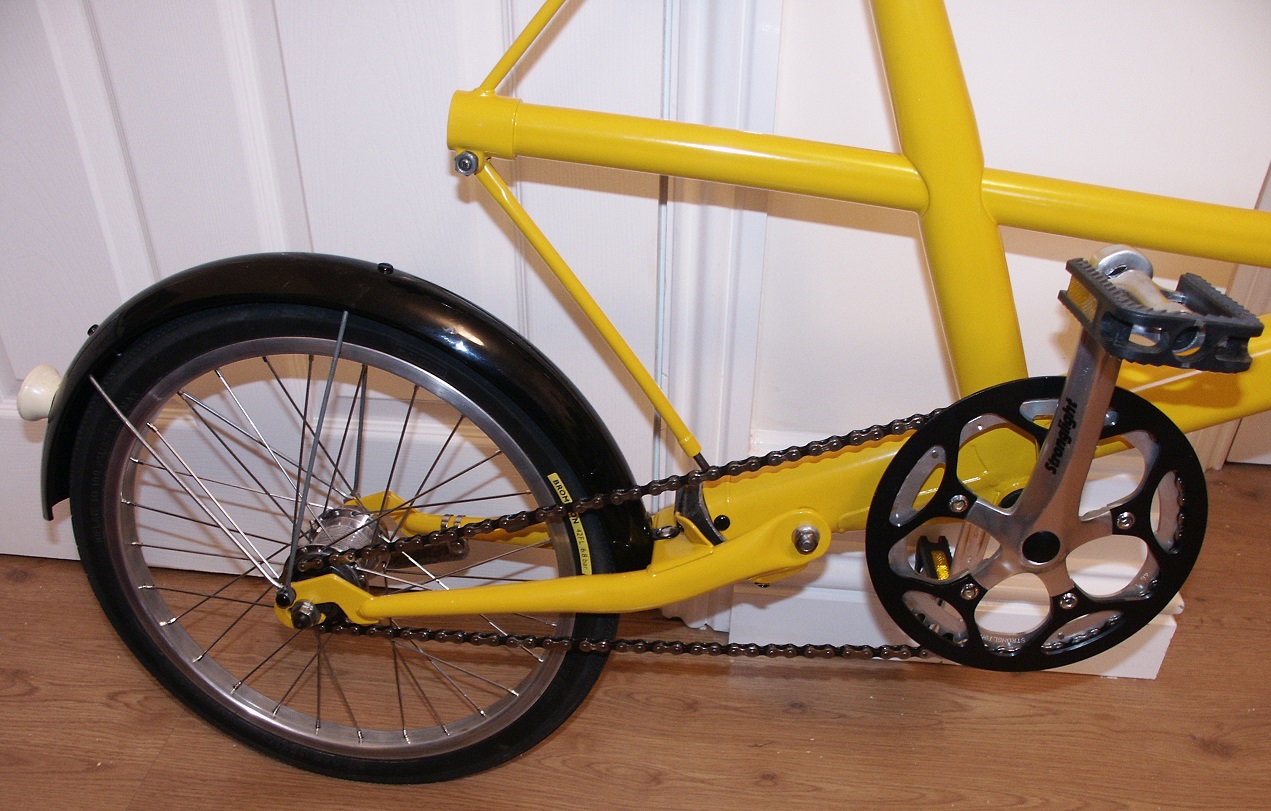
The job's a good un! |
 |